The most common telltale of a sway bar link/bushing issue is a thumping heard and/or felt in the floorboard of the vehicle. In severe cases, it may feel as though the floorboard is being hit with a hammer when the vehicle hits a bump. While this blow can also be caused by other suspension related problems, the sway bar should be inspected for worn joints and bushings. If a visual inspection reveals that the rubber joints on the sway bar links are deteriorating or the sway bar bushings have worn to an oblong shape (out-of-round), the affected components should be replaced.
When inspecting and/or working on the sway bar, it is important that vehicle is parked on a level surface so that there is no tension in the sway bar. If any of the wheels are articulated, you risk personally injury when the sway bar links and/or U clamps are removed as, once again, a sway bar is a just big torsion spring.
Ford Super Duty Sway Bar Parts List
Note that the factory Motorcraft sway bar links are non-serviceable, but the MOOG replacements have Zerk fittings and can be periodically pumped with grease. All of the MOOG replacement parts listed below are made in the USA (at time of publishing) and although we rarely stray from recommending OE parts, we've found MOOG suspension parts have to be reasonably priced, quality alternatives to the Motorcraft equivalents.
The driver and passenger side sway bar links are not identical. The passenger side link has a large offset in its shape, while the driver side link has a significantly smaller offset; they are not interchangeable.
Sway bar Bushing Parts List
Part Description |
Part Number(s) |
Remarks/Notes |
Sway bar link, passenger side (right) |
--- |
|
Sway bar link, driver side (left) |
--- |
|
Sway bar bushing set |
--- |
Sway Bar Bushing & Sway Bar Link Replacement Procedures (Stabilizer Bar)
Click any thumbnail to view fullsize, detailed image

• Park the vehicle on a level surface. Set the parking brake and block the rear tires.
• Remove the driver and passenger side sway bar links. The bolts have a 15 mm head while the nuts on the backside require an 18 mm socket/wrench. Do not position yourself beneath the sway bar arm while loosening the links.
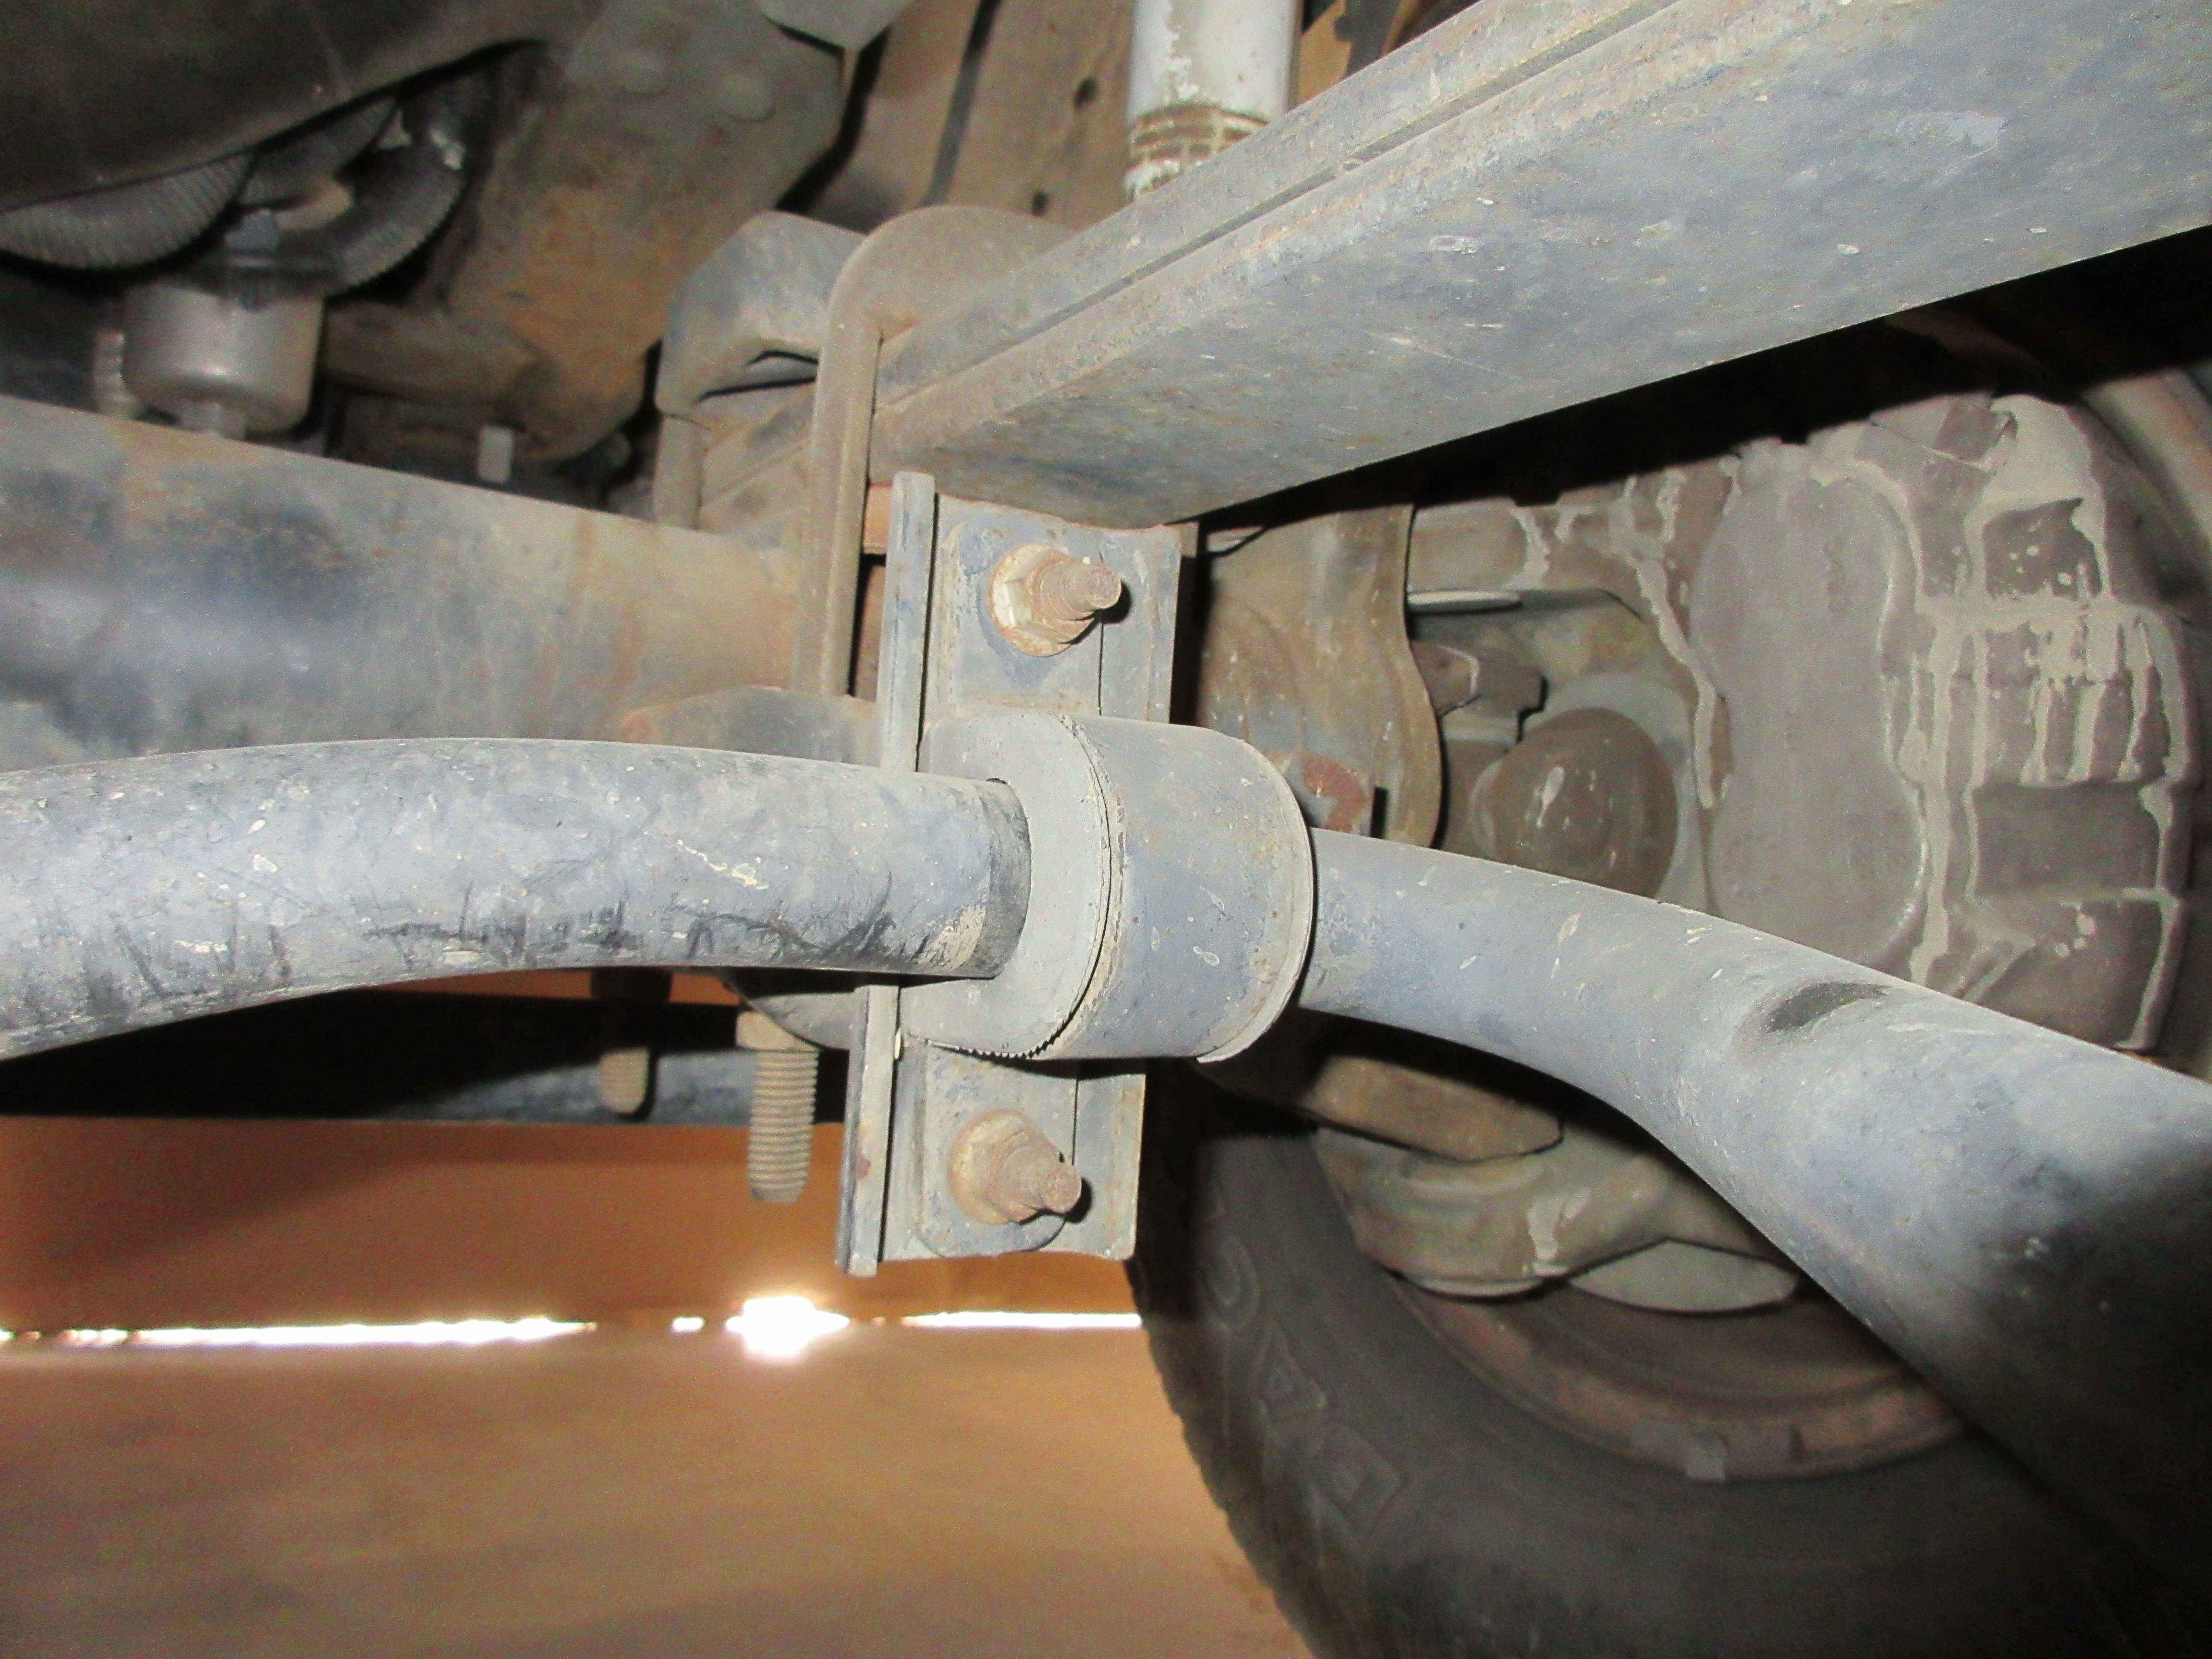
• Remove the U clamps securing the sway bar to the front axle; the nuts require a 15 mm socket.
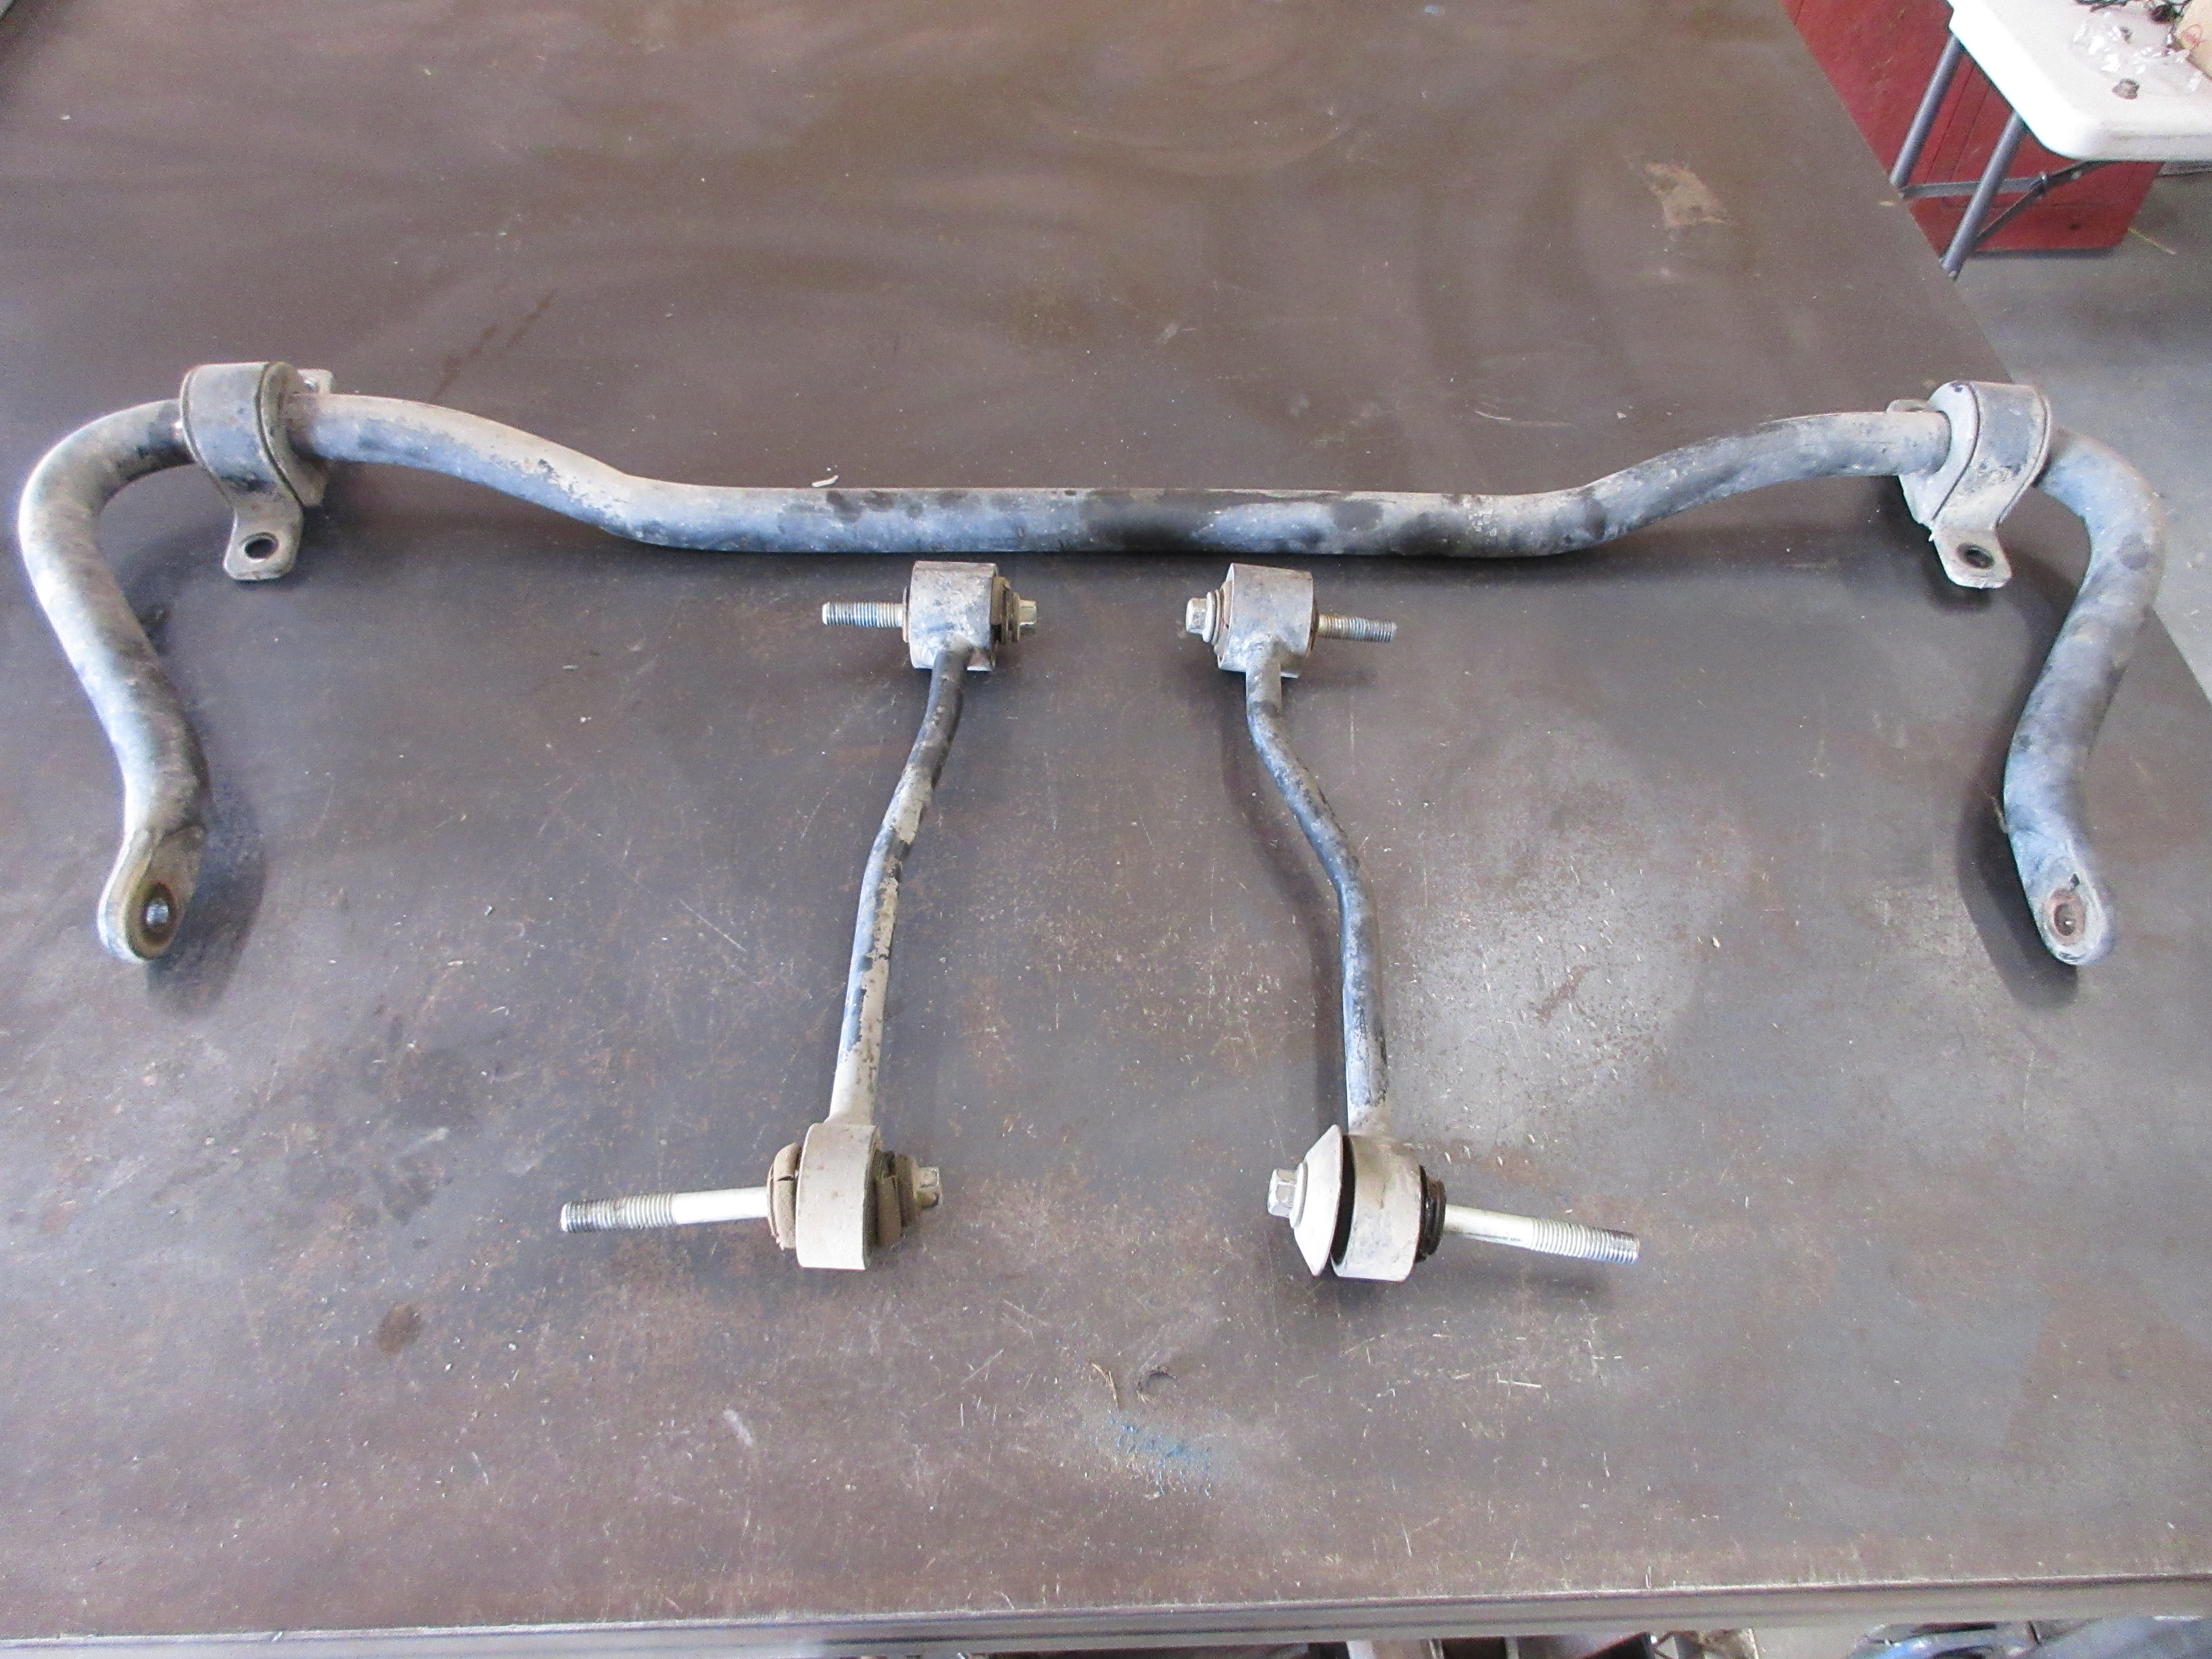
• Completely remove the sway bar from the vehicle. Note the difference in offset between the driver side and passenger side sway bar links; they are not interchangeable.

• Remove the old sway bar bushings. If they leave remnants attached to the sway bar, remove them with a wire brush, sandpaper, etc.
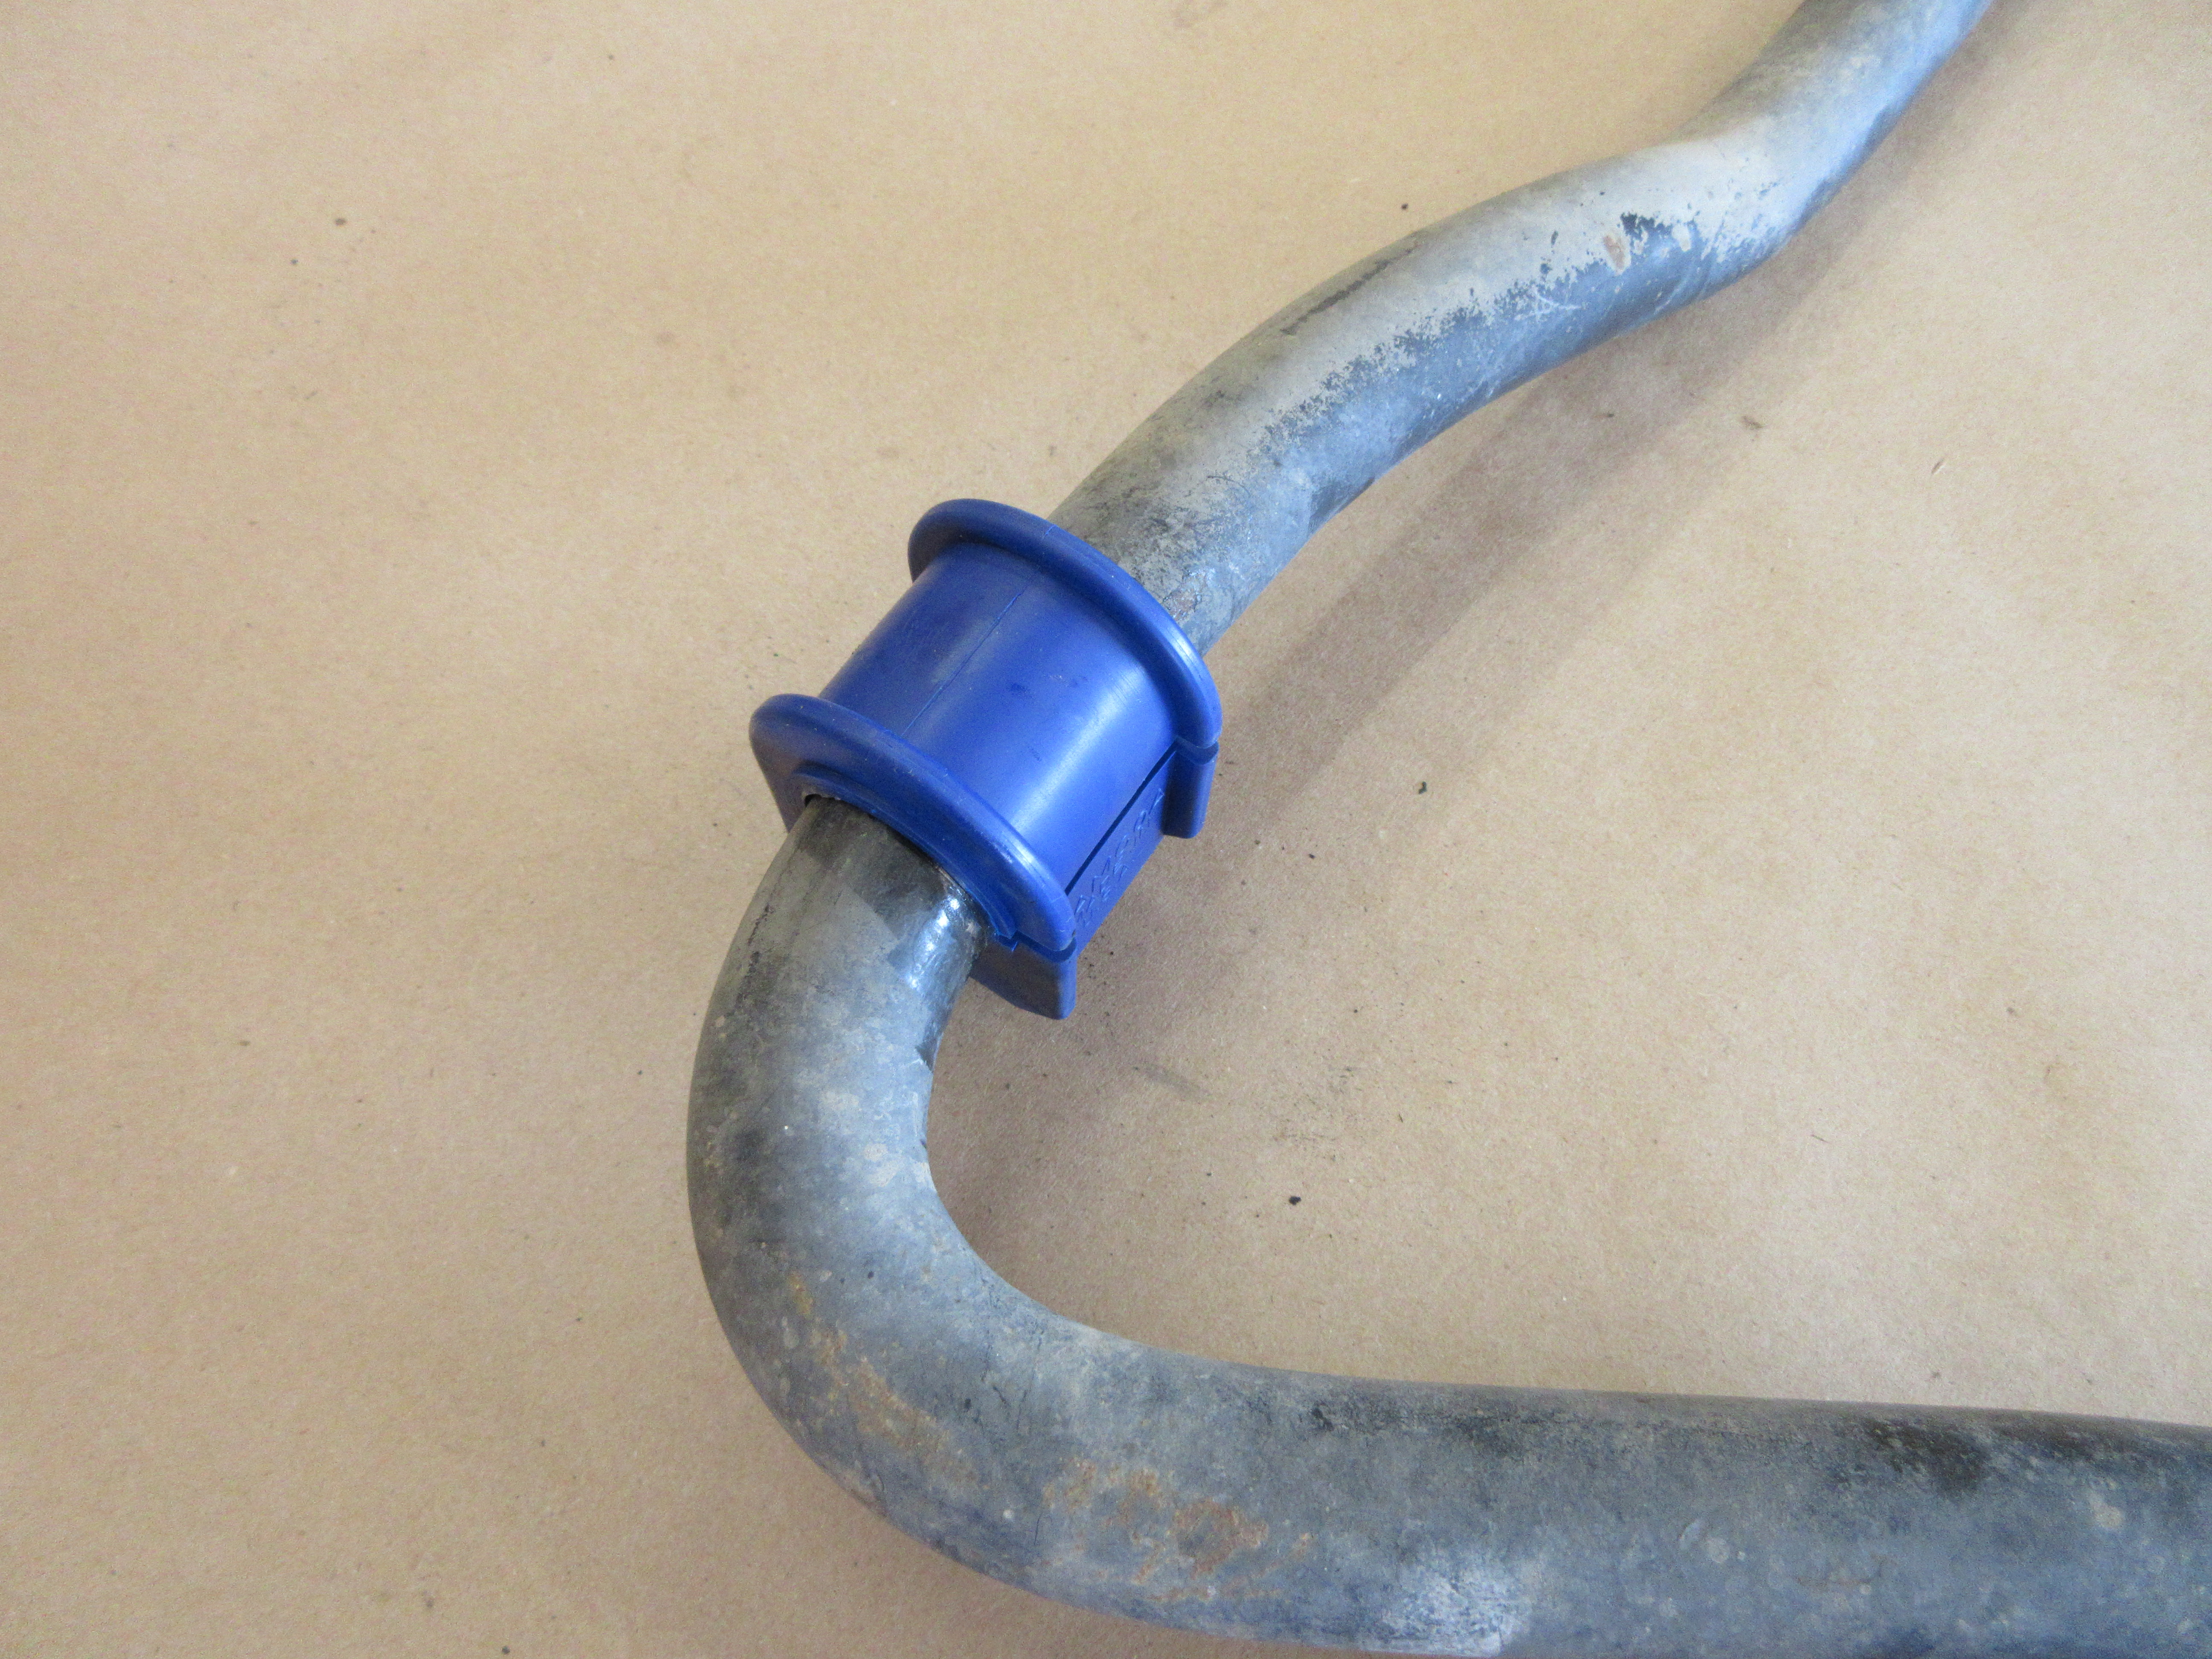
• Install the new bushings onto the sway bar.

• Attach the sway bar to the front axle, installing the U clamps but only slightly snug the bolts so that the sway bar can still rotate.
• Install the sway bar links slightly snug, then torque the upper and lower bolts to 60 ft-lbs.
• Torque the U clamp nuts to 35 ft-lbs.
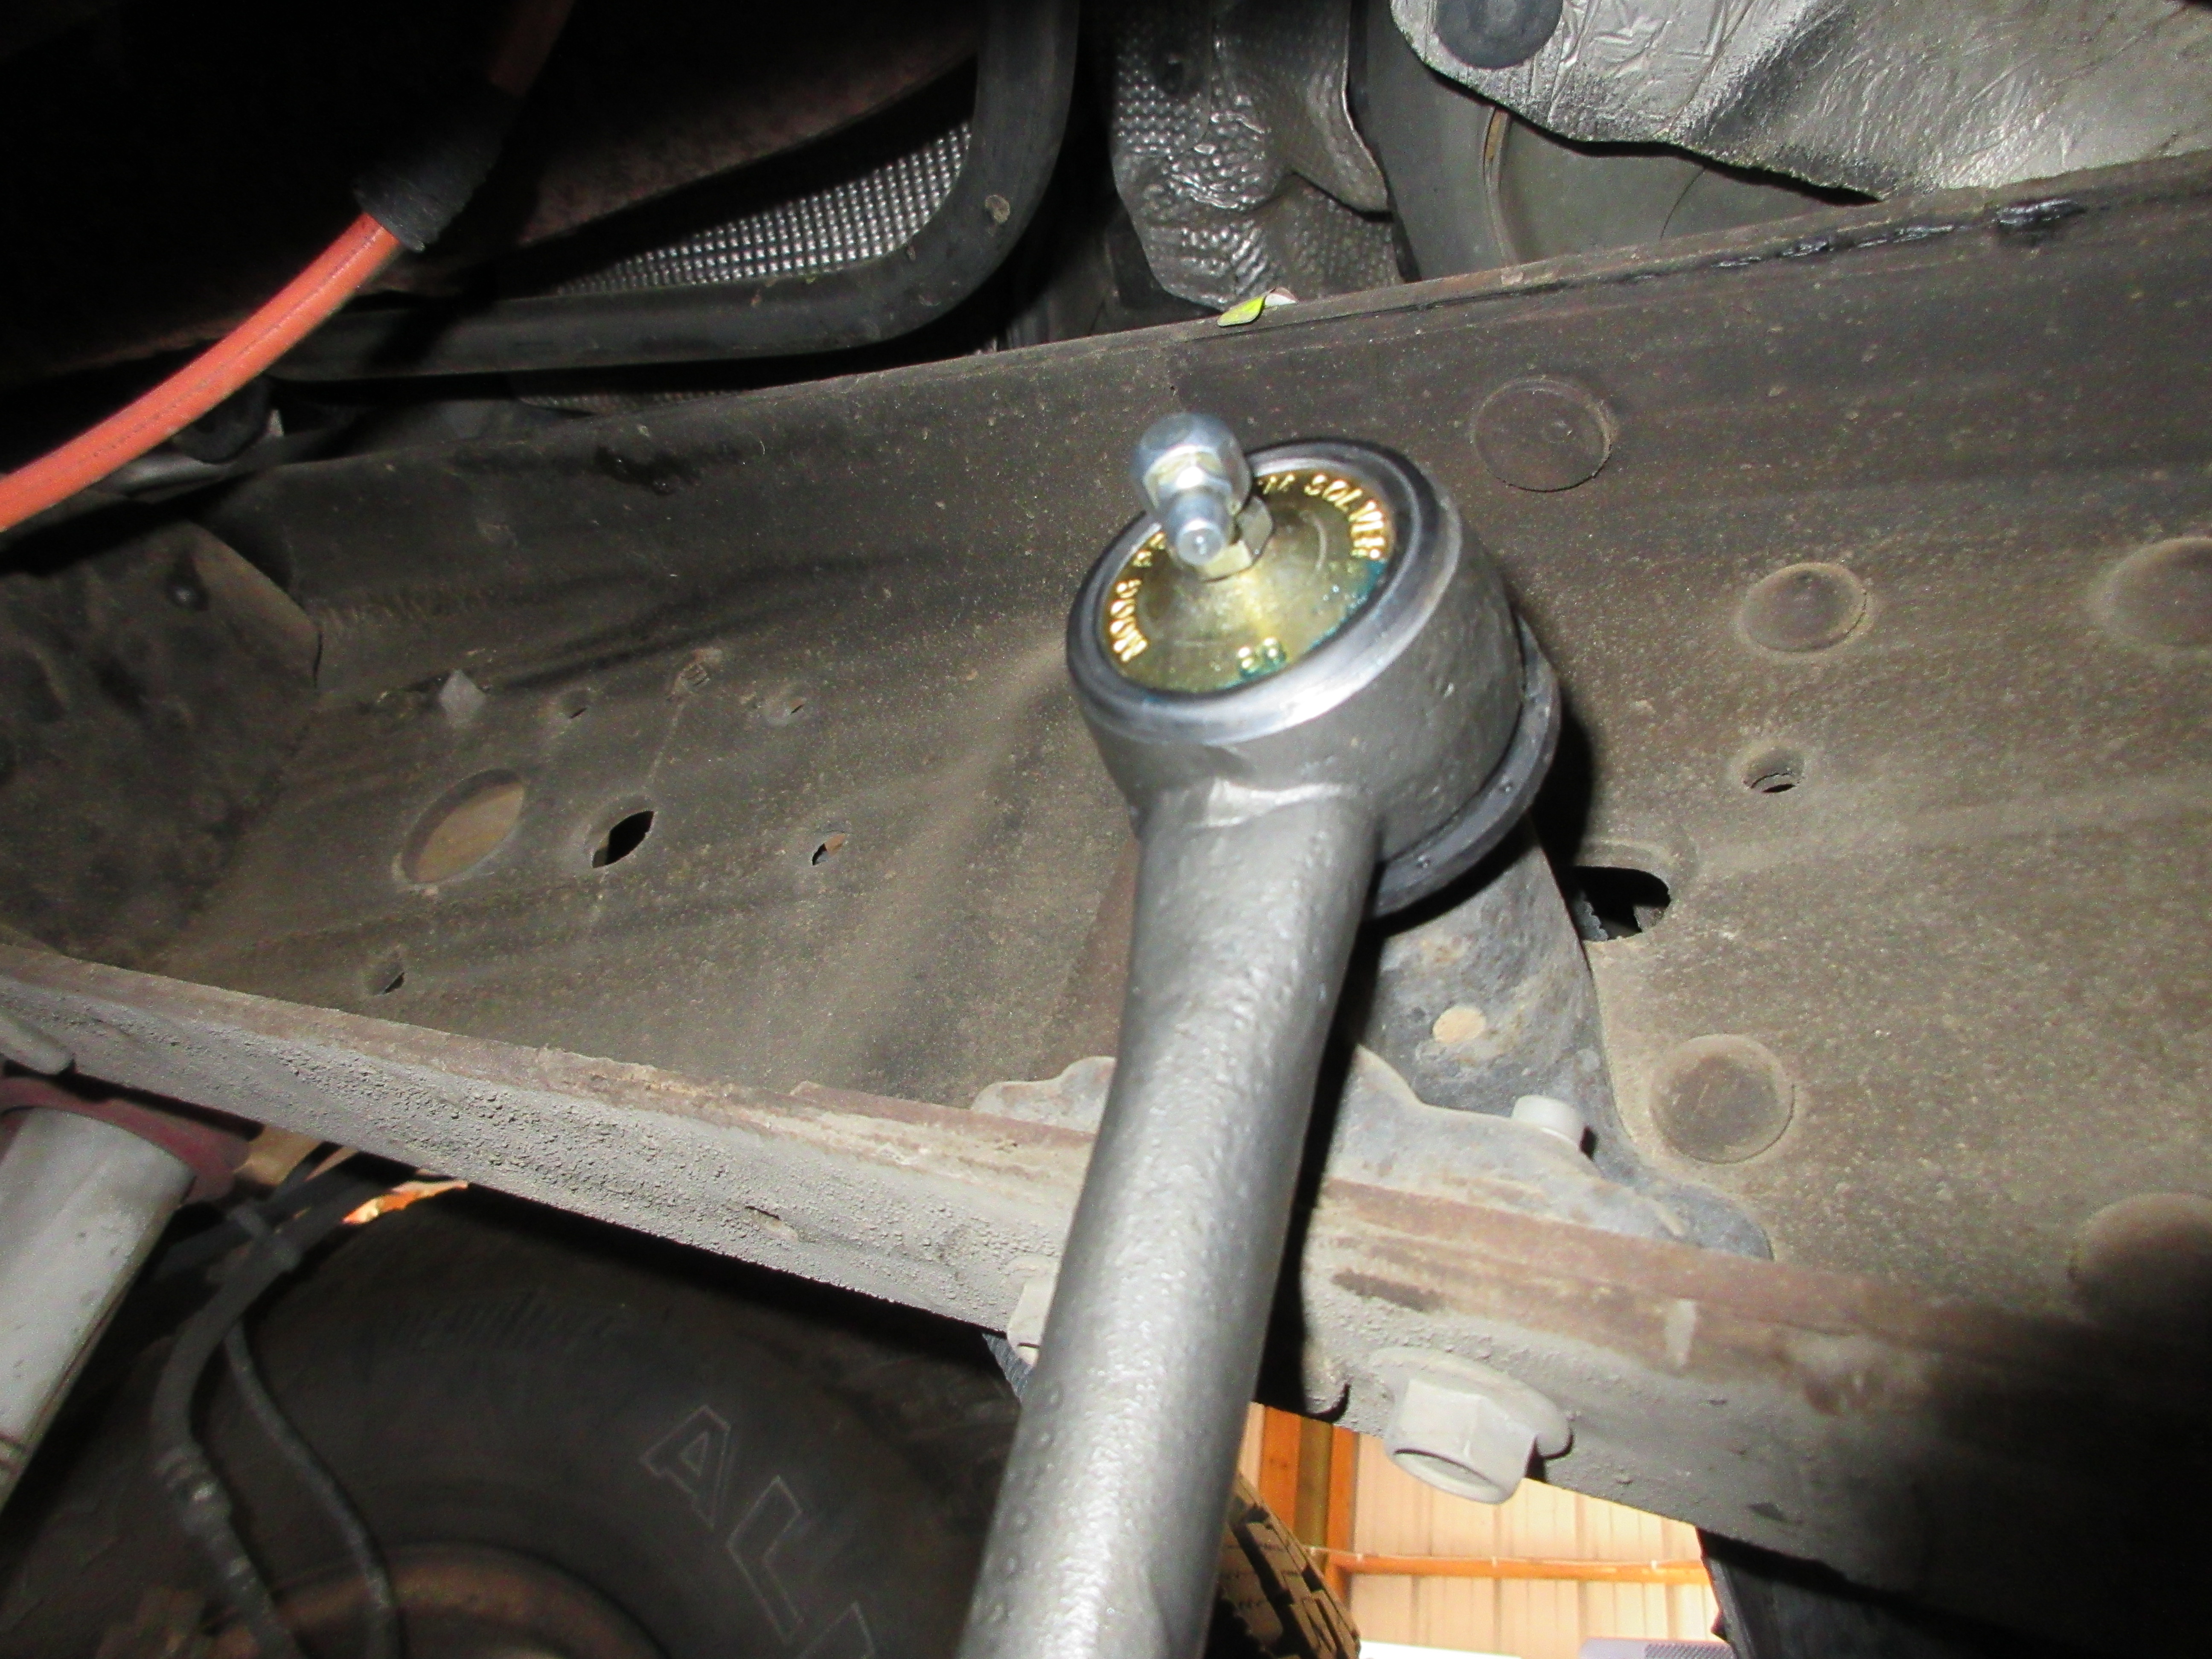
• If the sway bar links are being replaced with serviceable ones, install the Zerk fittings and pump them with grease (MOOG link shown).
• Drive vehicle, preferably over rough terrain at low speeds (speed bumps are perfect) followed by several miles of smooth roads.
• Re-torque all nuts and bolts. If the ride was rough or the sway bar responded harshly, pump more grease into the sway bar links (if applicable).